Good product design for items that are built to last and will experience wear over time — like a guitar — also takes maintenance and service into account. Designing an acoustic guitar to be easily serviceable makes even more sense when you consider that one of the uniquely enjoyable qualities of a well-made acoustic is that, if properly cared for, time and use will actually enhance its tonal properties. That’s why Taylor’s patented neck design and, more specifically, the ability to easily adjust the neck angle as a guitar settles into its environment over time, should be music to a player’s years.
Resetting a Traditional Neck Vs. a Taylor Neck
Taylor Customer Service Manager Glen Wolff is a seasoned Taylor veteran with a detailed working knowledge of servicing not only Taylor guitars, but other brands as well. He can personally attest to how much easier Taylor’s patented neck design makes the working lives of our in-house and outside factory-certified repair technicians when adjusting a Taylor neck compared to resetting a traditional acoustic guitar neck.
We asked Glen to compare a traditional neck reset with a Taylor reset. The difference is so dramatic that we refer to our process simply as a neck angle adjustment rather than a neck reset to differentiate from the labor-intensive connotation of a neck reset among customers.
Glen also clarifies another common area of confusion among customers: the difference between a neck angle adjustment and a truss rod adjustment. He shares his thoughts below.
Traditional Neck Reset
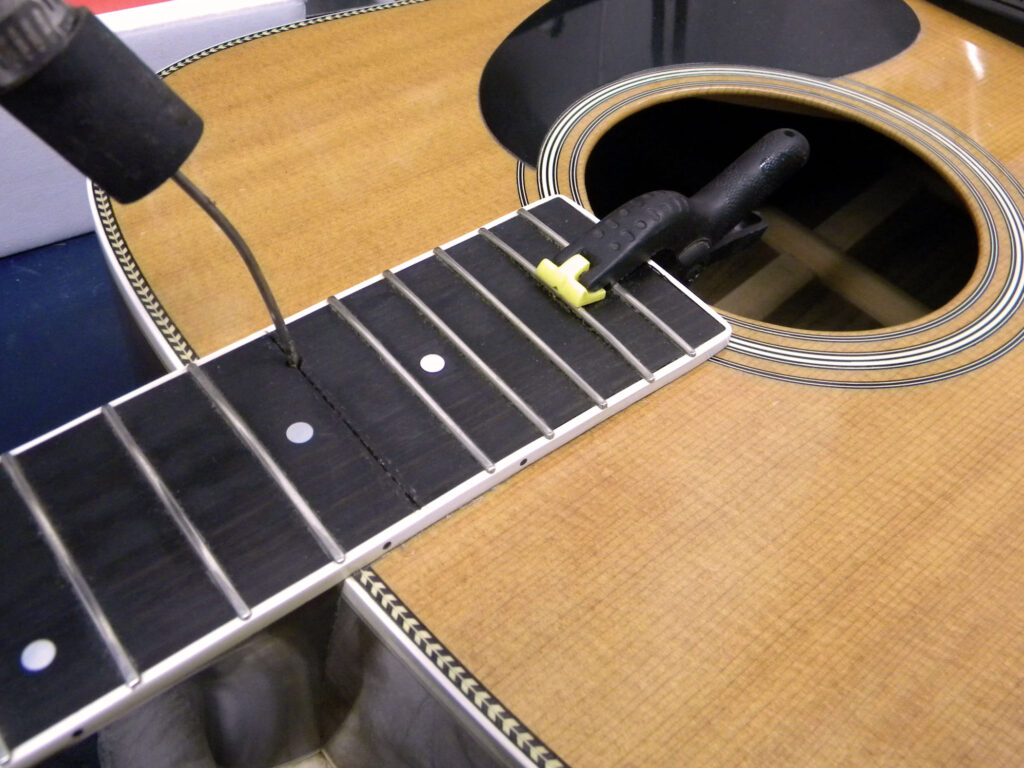
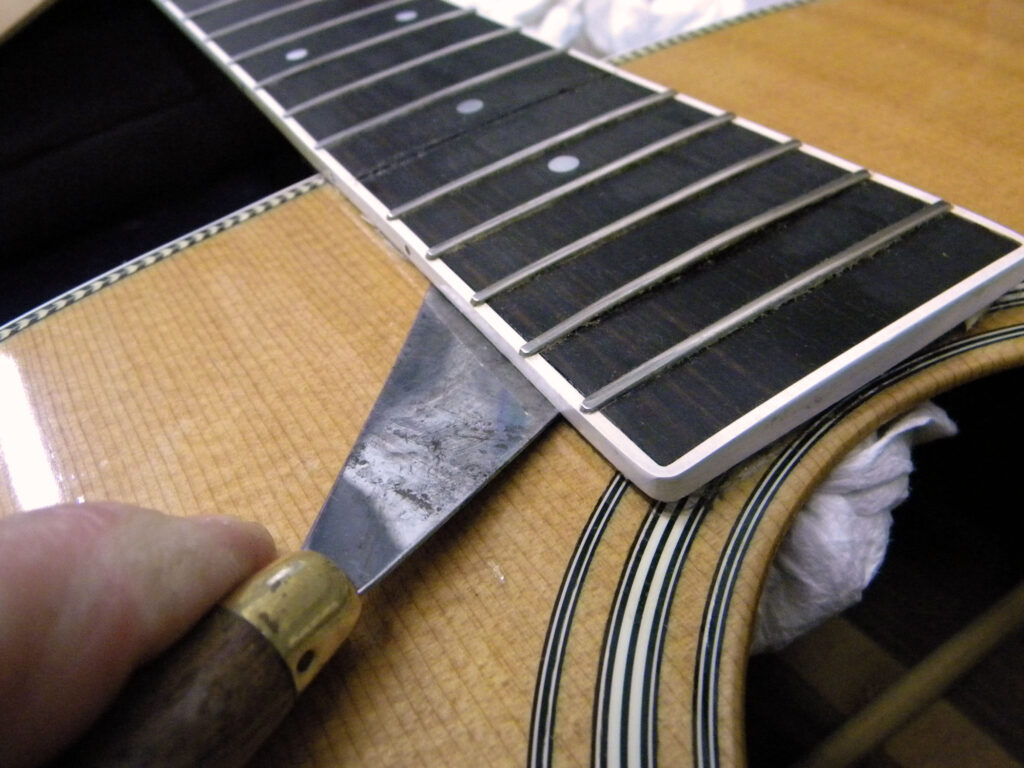
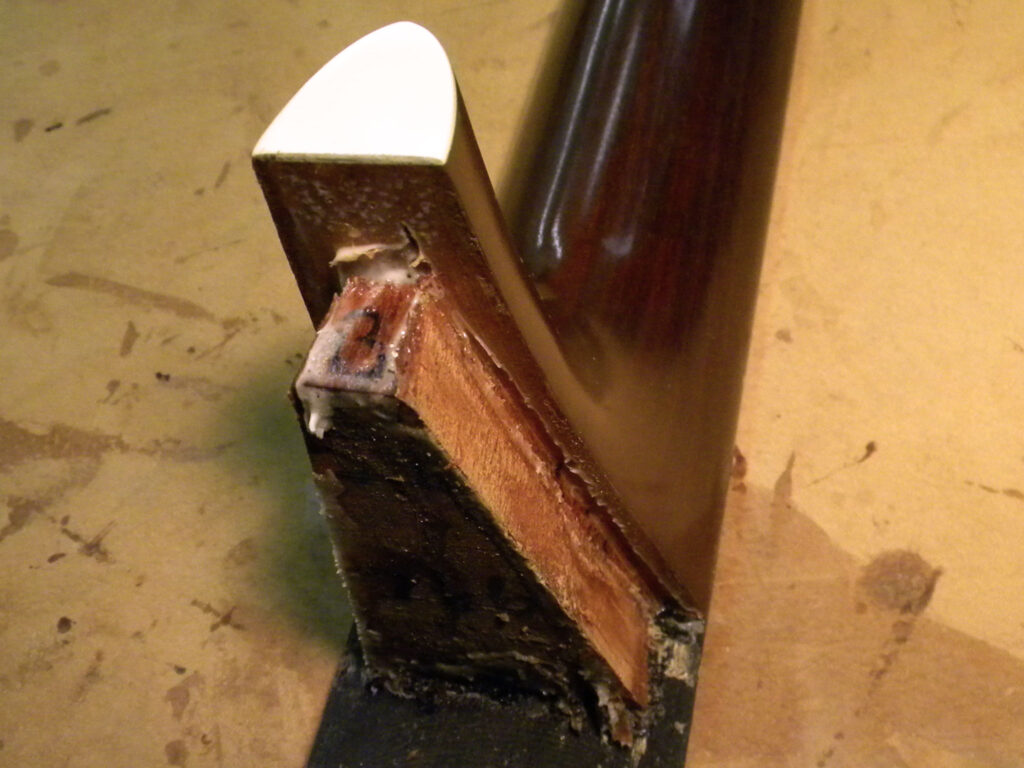
A traditional neck reset is “major surgery” for an acoustic guitar. Necks that are glued on with a dovetail or mortise-and-tenon joint are not easy to separate from the body. The typical method involves removing a fret and channeling steam into the joint through access holes drilled through a fret slot. Blushing finish is a common side effect of the steaming process, so expect some finish touch-up work to be added to the bill.
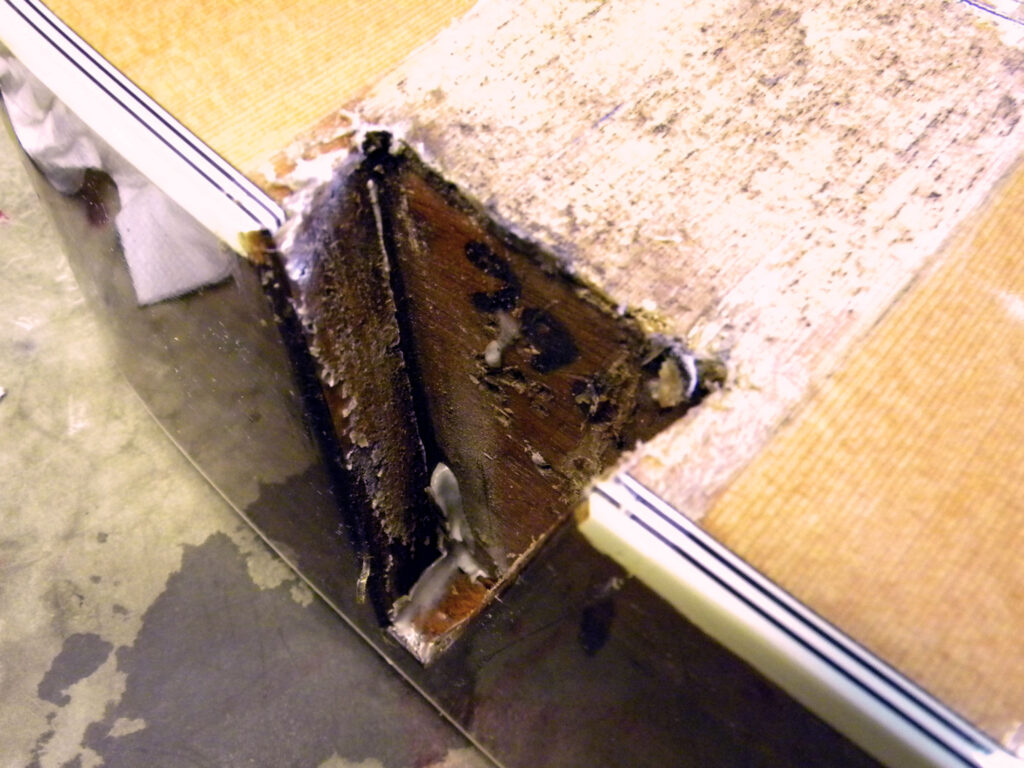
Refitting the neck also requires a highly experienced and skilled guitar technician. The joint has to be reshaped internally so the pitch of the neck is where you want it after it’s glued back in place. All this work and the joint inside may be resting on one or two solid contact points while the rest of the joint is filled with glue. Many people assume a traditional dovetail neck has solid wood-to-wood contact through the entire joint and produces better tone as a result. But between the joint and the use of glue — which can inhibit the transfer of tone — that’s not the case. The Taylor neck actually has more direct wood-to-wood contact, and no glue is used.
Once the glue dries and we assume the angle is correct, the job can be finished. This requires replacing the fret that was removed to steam the neck off, and at least a light fret level in that area. The saddle location needs to be checked for intonation, as refitting the neck may have caused it to shift in toward the body as a result of needing to remove material from the heel. If this has happened, the saddle slot will need to be filled and relocated. If there isn’t adequate room to move the saddle back without hitting the bridge pin holes, the bridge may need to be replaced with one that shifts the bridge pins and saddle back for proper intonation.
The time it takes will vary depending on the skill level of the technician and what complications he or she runs into along the way. In estimating time, there’s the “touch” time, when you’re actually working on the guitar, and the let-it-set time required while the steamed wood dries, the finish touch-ups dry, and the new glue joint dries. It’s safe to say that even an experienced tech will have several hours of touch time in the job and at least a couple of weeks total to complete it. The typical turnaround time is realistically more like a few months.
Resetting a Taylor Neck
By comparison, a Taylor neck angle adjustment is not “major surgery.” Though the result is the same as a “neck reset,” it is not at all invasive and should not conjure images of the traditional reset with its steaming, reshaping and gluing. It is a standard adjustment on a Taylor guitar. We understand that the neck angle is critical to the feel and playability on any guitar. We also realize that the neck angle can change over time, and we don’t want to alter the geometry of the guitar by lowering the saddle and sanding the bridge thinner to keep the action low.
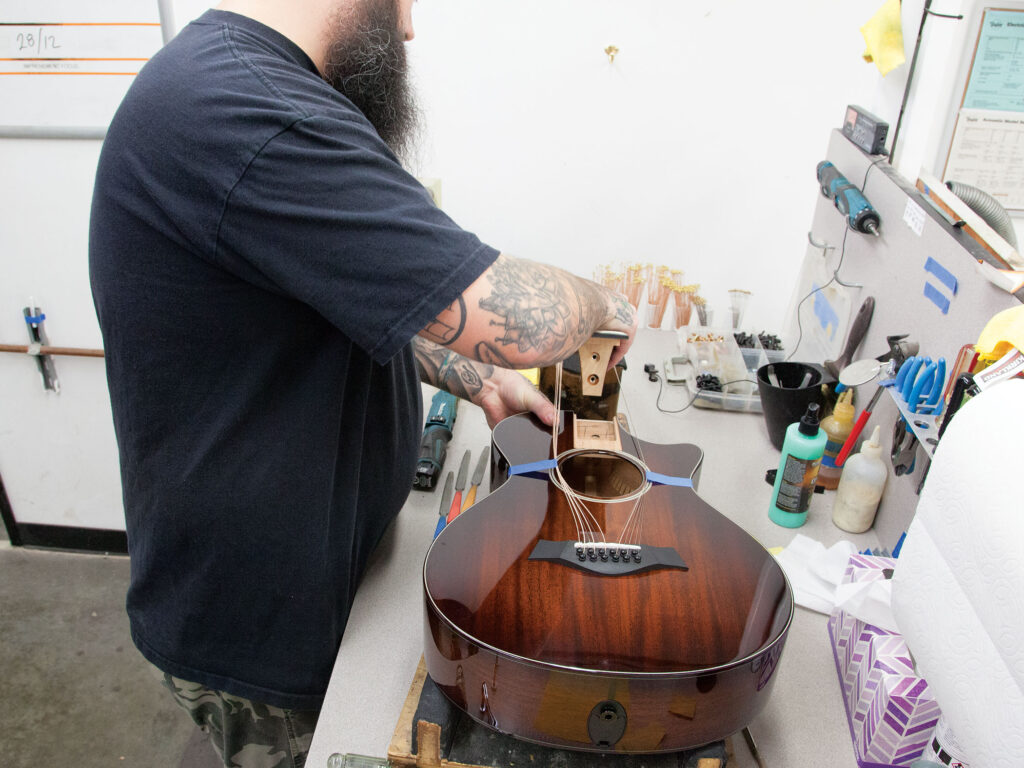
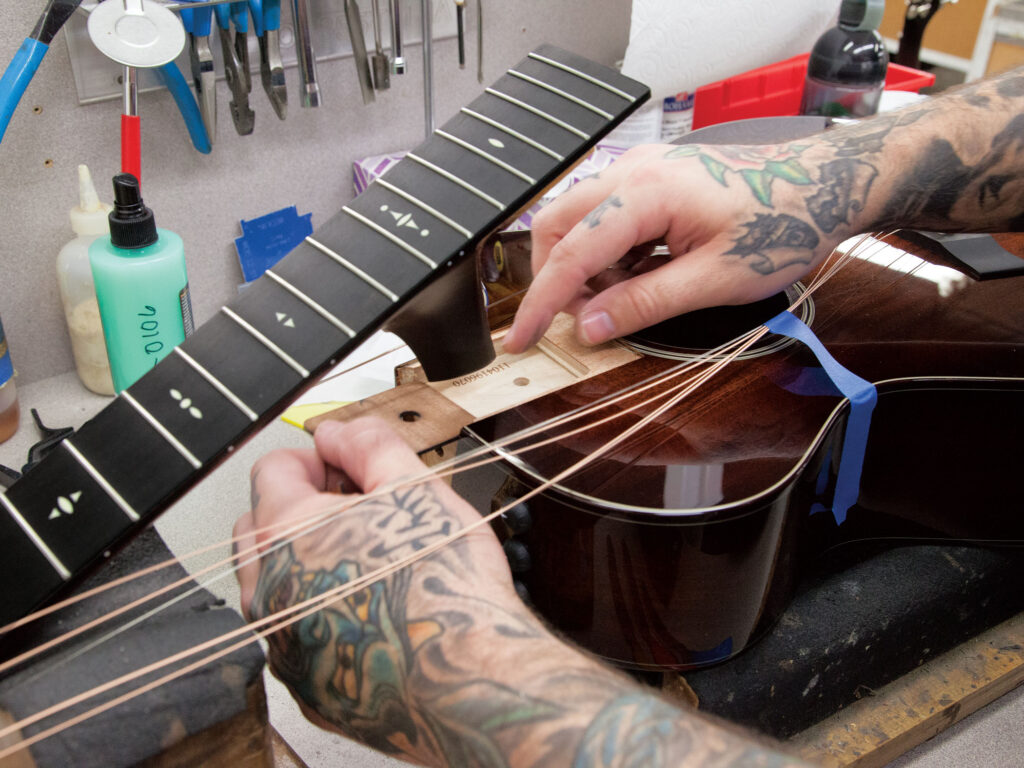
The Taylor neck is held in place with three internal bolts: two in the heel and one on the extension. Inside the joint are two wooden spacers that can be swapped out for different values to change the neck angle. Those spacers vary by .002”, giving us the ability to make micro-adjustments and set the angle exactly where we want it. When the angle is correct, the guitar is tuned to pitch and ready to go. There is no delay in waiting for glue to dry. It’s important to also note that the pivot point of the neck does not shift into the body with a Taylor neck angle adjustment, so the saddle never has to be relocated.
The Taylor neck can be adjusted in less than 10 minutes.
Neck Angle Adjustment vs. Truss Rod Adjustment
In speaking with guitar owners over the years, we’ve found that a neck angle adjustment often gets confused for a truss rod adjustment when in fact they are two different things.
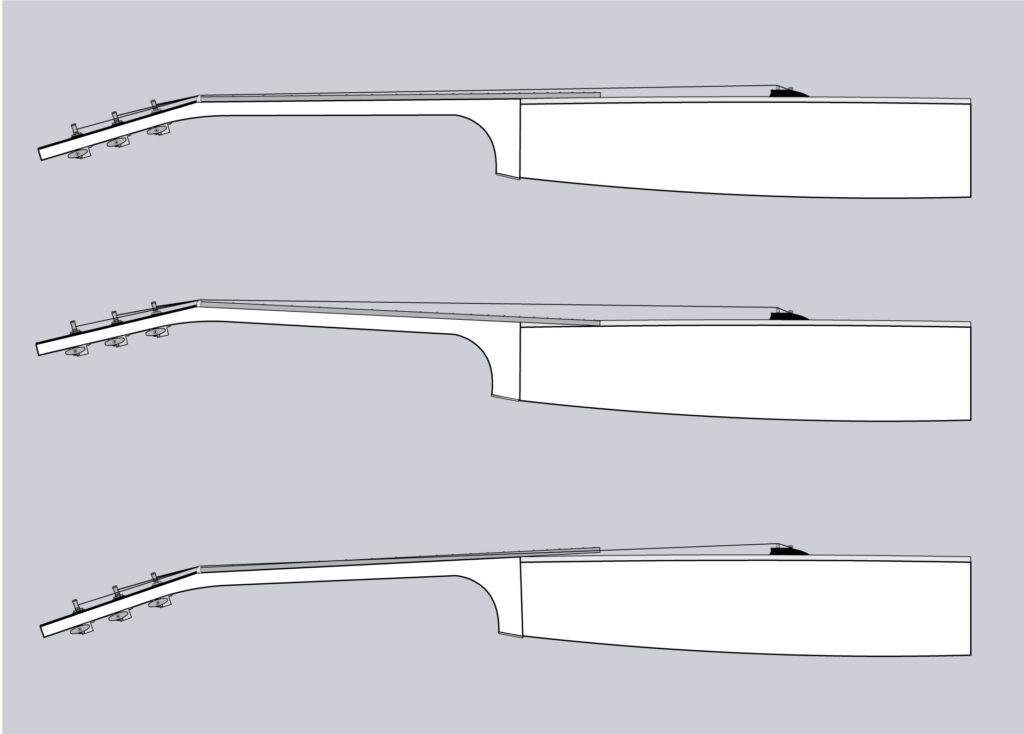
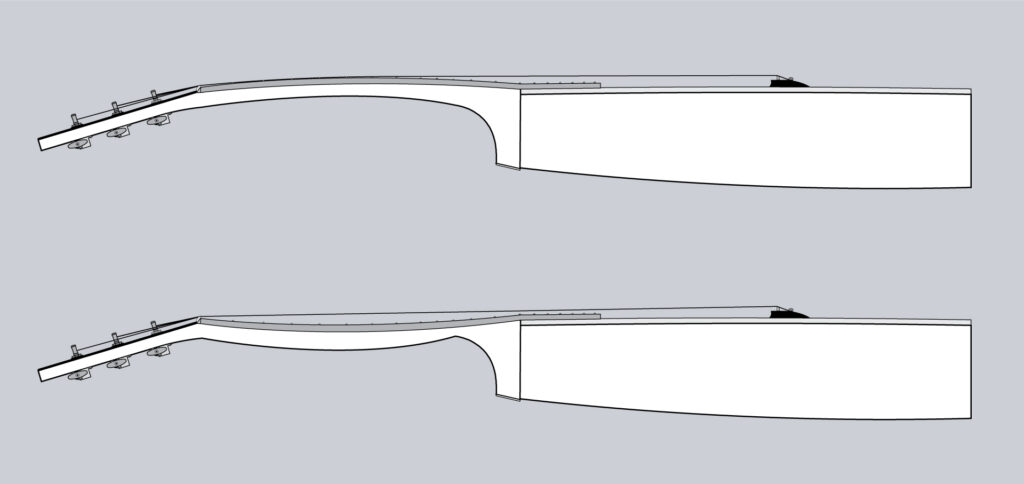
A neck angle adjustment alters the angle or pitch of the neck in relationship to the body. With the neck adjusted straight, a good neck angle will show the action progressively getting slightly higher as you play up the neck. When the angle is too low, the action up the neck increases substantially. When the angle is too high, the action remains the same or gets lower as you play up the neck.
A truss rod adjustment is made to alter the curve or bow of the neck. We refer to a neck as being either straight, front bowed, or back bowed. We may also say a neck has “too much relief,” meaning it is bowing away from the strings, which makes for high action especially around the 7th fret, the middle of the neck.
Having both a good neck angle and a properly adjusted truss rod makes for a comfortable-playing guitar all the way up the neck.
How to Get a True Reading of the Neck Angle
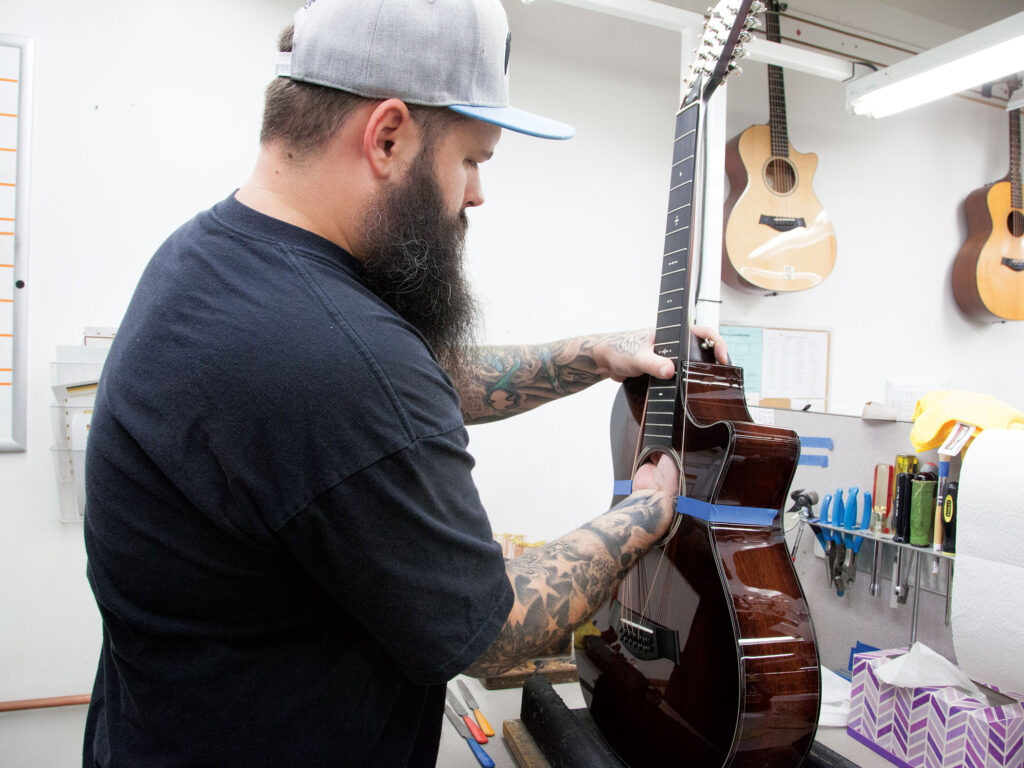
As part of our repair process, before evaluating the neck angle, we must first tune the guitar as it will be played, whether that’s standard tuning or an alternate tuning, and adjust the truss rod so the neck is straight. We then judge where the neck is pointing in relation to the bridge. It takes a trained eye to evaluate the neck angle properly and not get a false sight reading. We must also evaluate the humidity, as a dry guitar might have a sunken top and give a “false” indication of a high neck angle. For these reasons, we suggest having your neck angle evaluated by a certified Taylor repair technician whenever your action changes.
One Final Note
As easy as a Taylor neck angle adjustment might sound, it takes a Taylor-trained service technician to do it correctly. Otherwise the pocket can be damaged and unnatural stress can be placed on the neck joint. In addition to our Factory Service Center, all Taylor-certified service technicians have the training and parts to properly to perform this type of repair. Whether you purchased your guitar from a local shop or an online guitar store, you’ll find a complete list of authorized Taylor service centers here.