Ed. Note: This article was written by a certified Taylor Guitars repair technician who operates a repair shop and luthiery school in Chapel Hill, Tennessee.
How do I keep my Taylor in top playing condition? Where can I go to learn how to set up and maintain it myself? These are questions I get often from my guitar repair customers.
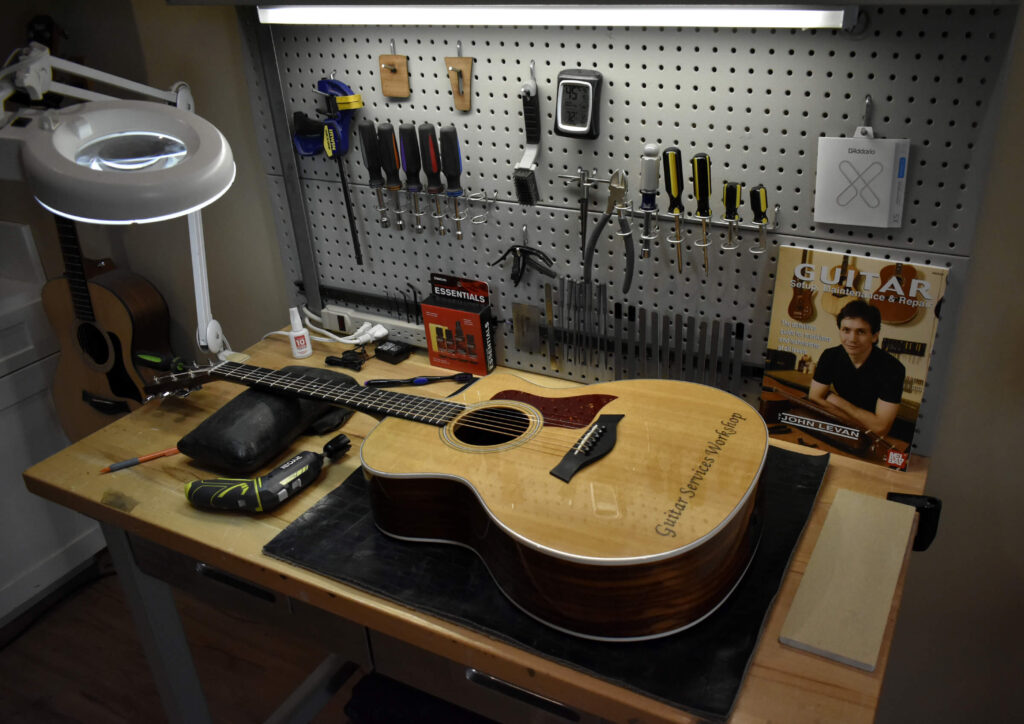
My name is John LeVan, and I run the Guitar Services Workshop, a guitar repair school in Chapel Hill, Tennessee, that offers hands-on training for would-be guitar techs of all skill levels. Our new class, Acoustic Guitar Setup Workshop, provides training for players who want to keep their acoustic guitars playing perfectly. My journey began in 1985 when my passion for guitars led me to study with any guitar tech who would talk to me. Nine years later, I landed at Taylor, where I learned how to repair guitars. That adventure changed my life and launched my career as a Professional Guitar Technician. Today, I teach a broad curriculum of lutherie arts to players, budding techs and anyone else interested in learning how guitars work.
In this blog, we’ll run through the basics of what a setup entails for an acoustic guitar, how to know when your guitar needs a setup, and the tools you’ll need to complete the job.
But first, a warning for DIYers! Several well-meaning players have brought me guitars they’ve attempted to work on, only to find that they’ve damaged them because they didn’t have proper training. For example, a customer once brought me a beautiful Taylor 810 for a neck reset. They had tried to reset it themselves, but sadly had glued the neck in. To add insult to injury, the neck angle was still too low. Unfortunately, this effectively made the guitar unplayable and unfixable. Since 1999, Taylor necks attach to the body with three bolts — no glue is used. Prior to 1999, only the fretboard was glued (to the top). (Editor’s note: Taylor started releasing guitars with bolt-on necks in 1998. Guitars were built with both bolt-on and glued necks while the factory was transitioned to manufacture bolt-on necks. Since 2001, all Taylor guitars feature bolt-on necks. Guitars built between 1998 and 2000 could be either bolt-on or glued.)
Our training workshop takes the guesswork out of home setups. Understand that I’m all for doing your own setups and maintenance — I just want you to have proper training from an experienced Taylor technician. With that training and the right tools, you can keep your Taylor in great shape. But without the above, you’re flying blind and risk damaging your precious instrument.
What is a setup?
A setup is a series of adjustments made to a guitar to improve the way it plays. An important part of a setup is understanding the player’s playing style and individual technique. For example, a guitar that is often played with a capo (or multiple capos), should be set up with slightly different action (string height) than a guitar played without a capo. Before I set up a guitar, I ask questions to get a sense of the customer’s playing style. What tuning do you typically play in? What’s your preferred string gauge? How about your strumming technique (fingerstyle, flatpicking, etc.)? What type of music do you play, and do you generally play lead, rhythm or both? All these factors help determine the best way to set up that guitar for that player. I like to describe it as “art ruled by physics.” In other words, the laws of physics determine how the action can be adjusted to accommodate the player.
Here are the main adjustments that are typically included in a setup — and what you’ll learn in our two-day Acoustic Setup Workshop:
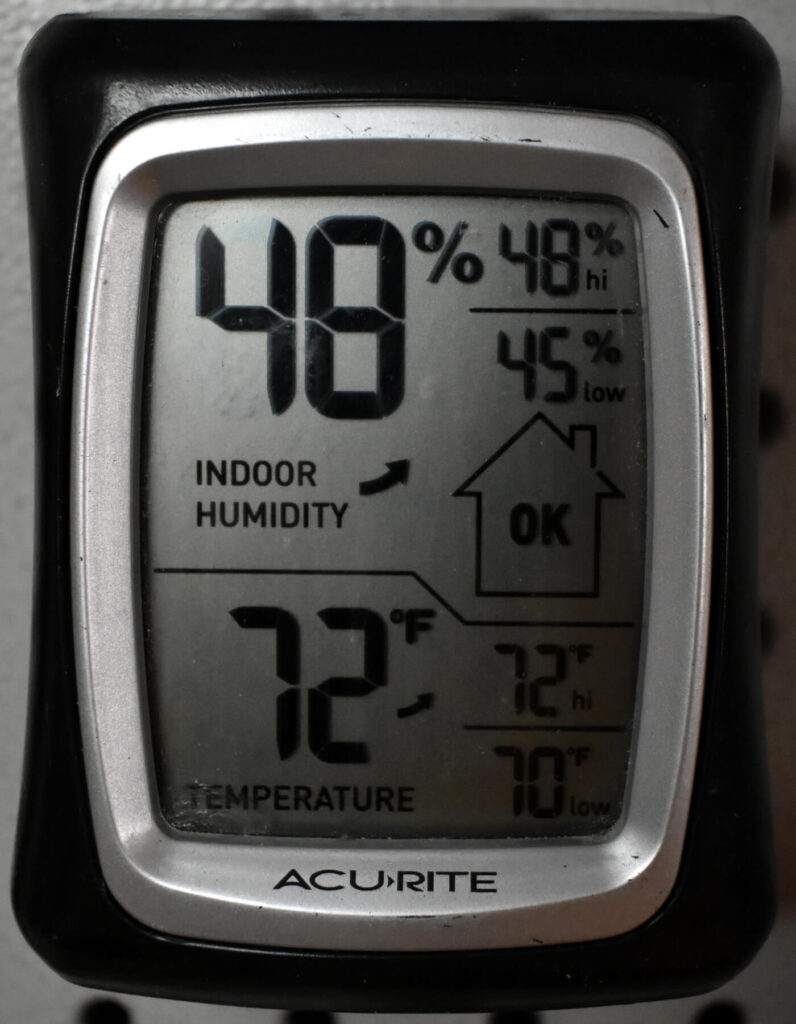
- Humidity and climate control
- Measurements (neck relief, action at the 12th and first fret)
- Neck angles and resets
- How playing styles effect your setup
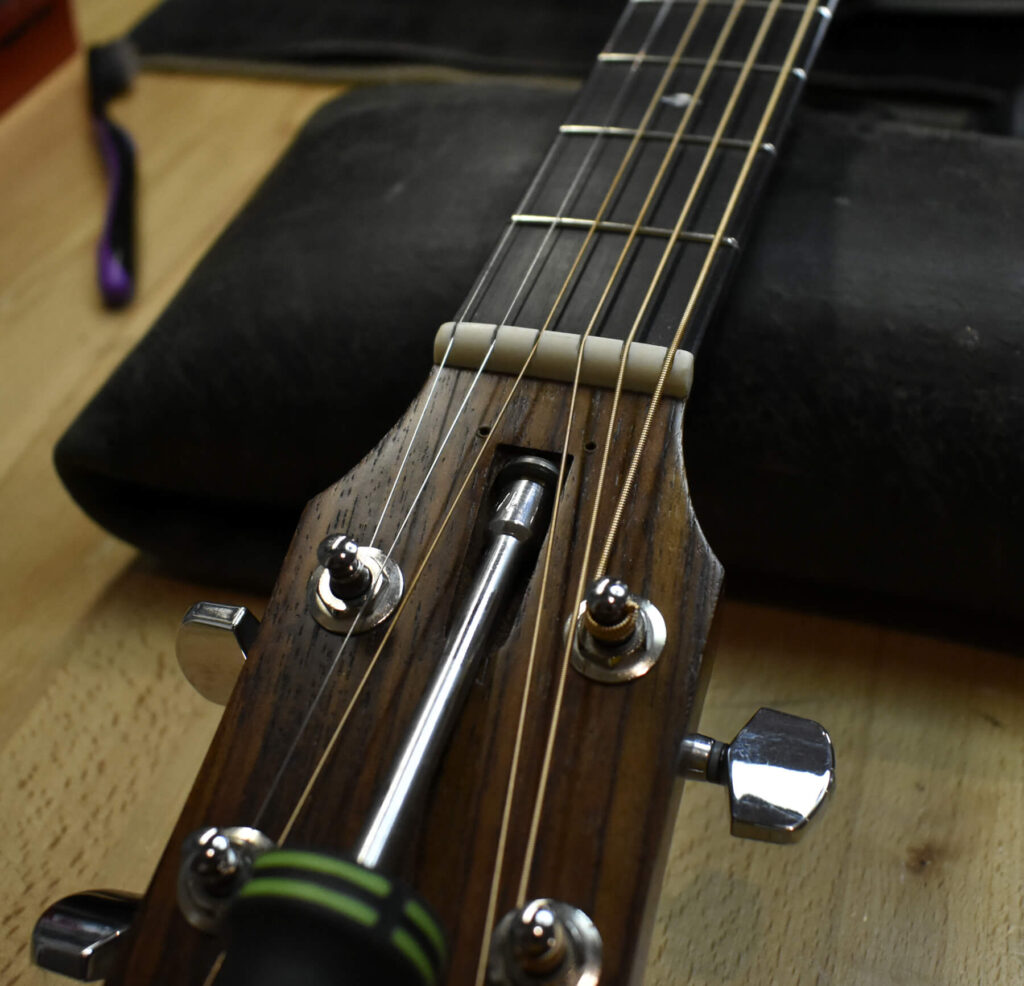
- Adjusting the trussrod
- Adjusting the bridge saddle (replacement)
- Adjusting the action at the string nut
- Intonation
- Troubleshooting problems
- How to restring your guitar
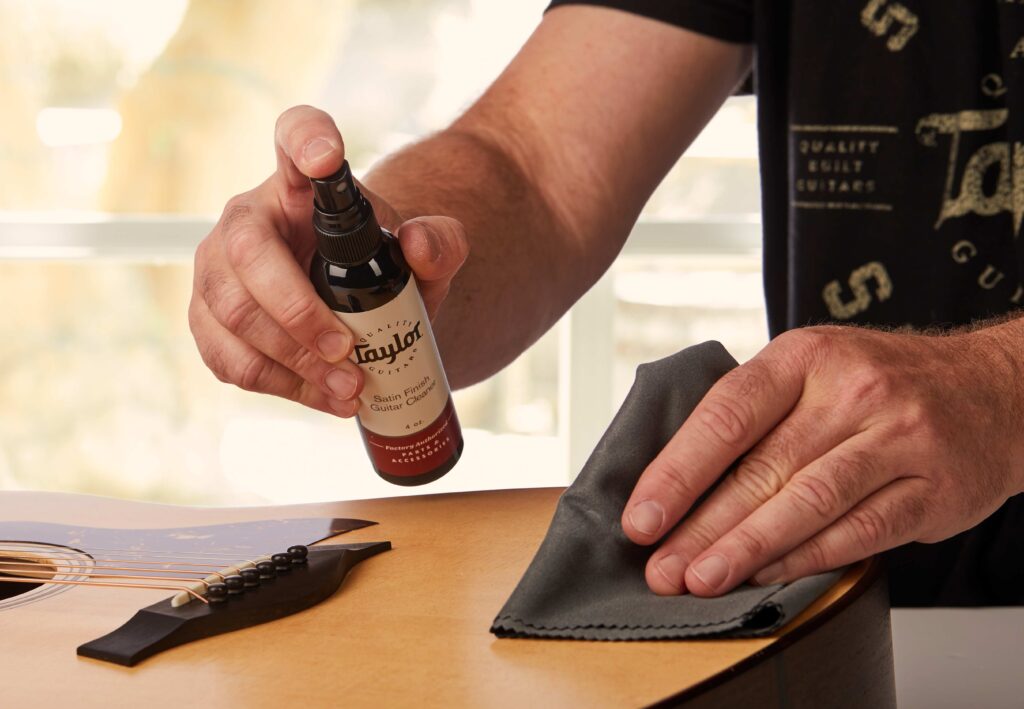
- Cleaning and conditioning
How often does a guitar need to be set up?
How often you set up your guitar depends on several factors. Eventually, every guitar needs a refresh. The more you play, the more frequently your guitar will need adjustments to keep it playing the way you like it to play. Some parts of the guitar will wear faster than others — the frets, bridge saddle and string nut will wear out the fastest, and all three are critical to the playability of the instrument. Since strings are one of the most frequently replaced guitar parts, choosing the right type and gauge can make a noticeable difference in sound and feel. String buzzing, rattling and intonation issues are indicators that those components are wearing out and that it might be time for a fresh setup.
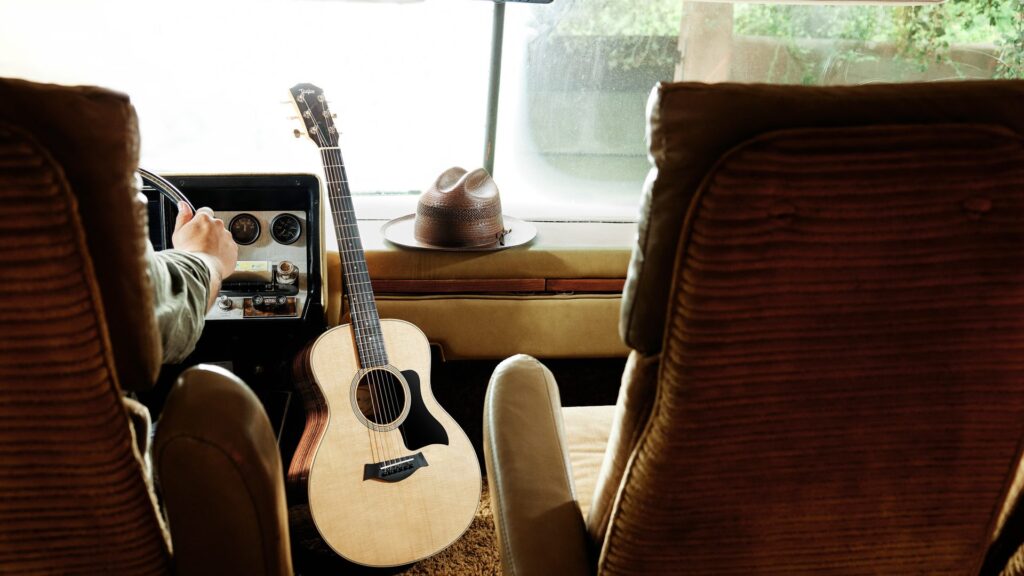
Climate also has an effect on your guitar. Wood can be highly reactive to changes in altitude, humidity and temperature, and major shifts in any of those factors can negatively affect even a great guitar. This is why climate control is a major factor in preserving your guitar. If you’ve traveled with your guitar between areas with different climates, there’s a higher chance it will experience changes requiring adjustments to keep it playing properly. On the other hand, guitars that have been properly conditioned and humidified usually need fewer repairs. In this case, a seasonal setup is usually sufficient.
What’s the best way to learn setups?
The best way to learn new skills is through hands-on training. This is the foundation of our workshops. Using what I refer to as “the military method” of training, we “preview, do and review” each procedure to ensure that our students fully understand the process. In addition, we train our students on how to use each tool and guide them in developing their skills.
What about tools?
Acquiring the proper tools and materials is critical to performing excellent work. Rather than sending our students on a wild goose chase to purchase a list of tools and materials, we provide our students with a professional toolkit. In addition, each student receives my best-selling book, Guitar Setup, Maintenance and Repair (Mel Bay) and several tech sheets. We also provide all supplies and study materials. In other words, we don’t nickel and dime our students when they get to class. We provide everything you need to complete the workshop.
How long are the workshops?
Our Acoustic Guitar Setup Workshop consists of two days of training.
What will I learn in the workshop?
Our goal is to provide real-world experience for our students, teaching not just how to set up a guitar but also ensuring that you understand the physics behind the process. When you set up any guitar, there is an order to each adjustment. Knowing the correct order of adjustments is critical to a great setup. For example, cutting the slots in the string nut when the neck has too much relief (forebow) will render the string nut useless the moment you adjust the truss rod. You may think it’s a minor mistake, but it will result in string rattle and intonation problems when you play the open strings. Following the correct order of adjustments will save you a lot of time and frustration.
What kind of experience do I need for the workshop?
No experience necessary. Our workshop was created for anyone who plays guitar and has a desire to learn new skills.
How many students will be in the workshop?
All of our workshops are limited to four students. We keep our workshops small to ensure that each student receives the time and attention they need to fully comprehend the curriculum. In other words, you won’t have to fight the crowd to get a question answered.
Who is my instructor and why is he qualified?
My name is John M. LeVan. I’ve worked as full-time guitar tech/luthier since 1990. I have studied with many professional guitar techs and luthiers, including Bob Taylor and Tom Anderson. For over 30 years, I have had the privilege of being an authorized Warranty Tech for Taylor Guitars. In 1990, I opened my first shop in Auburn, California. In 1996, I moved my operation to Nashville, Tennessee on Music Row. Last year, we built a brand-new shop building in Chapel Hill, Tennessee. Our new facility features a dedicated classroom to accommodate our guitar repair and restoration workshops. I have been teaching these workshops since 1994 after I completed my studies at Taylor. Our mission statement is “Training the next generation of guitar techs and luthiers.” I view this mission as my responsibility, to pass on the skills and knowledge I have acquired to the next generation of players and techs with a passion for the craft. I have also dedicated a significant part of my career to technical writing, and over the past 25 years I have worked as a technical writer for D’Addario, Gbase, Mel Bay (including five books), Kaman Music, Taylor’s Wood&Steel magazine, Acoustic Guitar, Collectable Guitar and Premier Guitar (“Guitar Shop 101”).
How much does the workshop cost?
Tuition for the Acoustic Guitar Setup Workshop is $1,000. We require a 50% deposit ($500) 30 days before the workshop begins to ensure enough time to order all of your tools, supplies and study materials. Deposits can be paid by check or credit card. The remaining balance is due on the first day of class. Students get to keep all tools, supplies and study materials. We will provide strings, glue, sandpaper, etc. In other words, once you pay your tuition, we provide everything you need to complete the workshop.
How do I sign up?
You can sign up on our website. Simply click the registration button and enter your information. The registration only requires basic student information. Registrations are due no less than 30 days before the first day of class. You must be at least 18 to be accepted in the workshop. I hope to see you there!